
Guides
 Colony Flow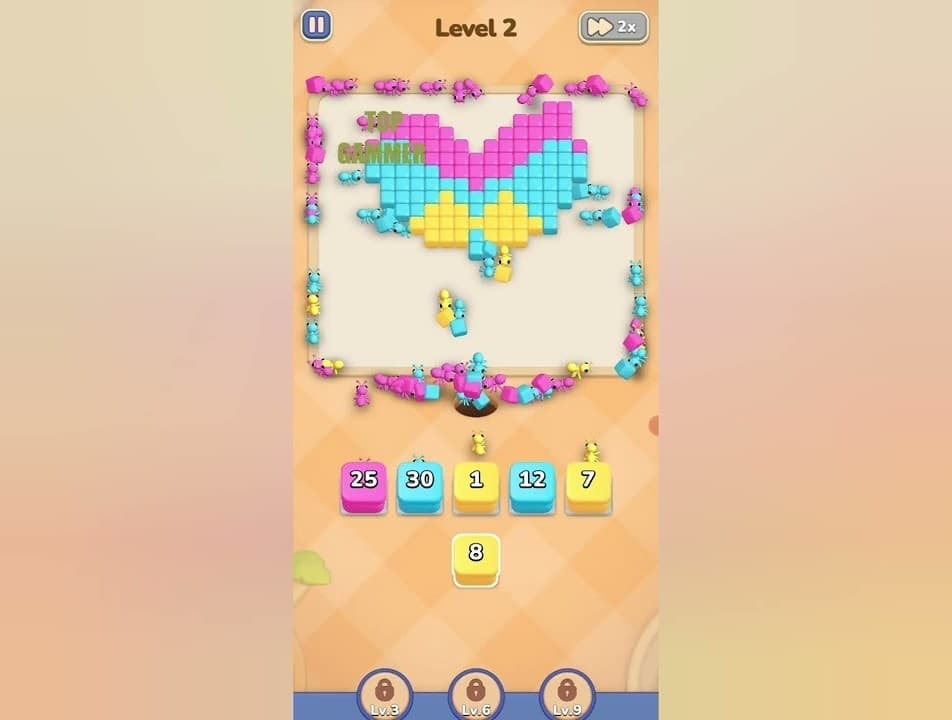
Browse published walkthroughs by level range, then open the video route when a cube sequence needs a closer look.

Keep exploring
The Level 2 heart has a pink outer shape, a broad light-blue middle, and a small yellow bow-tie section at the center. Pink and blue blocks carry the long-running work; yellow is a short finishing color that becomes useful only after the heart has an open middle.
Five occupied slots are not automatically a loss on this board. The important check is whether every loaded block has ants actively reducing it. Start with pink because the lower point of the heart gives it a safe target immediately.
Load the exposed pink blocks one at a time while the lower tip is available. Their ants work around the outer curve and create room for the wider middle section. Confirm that each pink count is falling before committing another slot.
When pink has cleared the lower access route, bring in two light-blue blocks. The blue section is large enough to support them, but it needs the pink opening first. Let both colors work instead of immediately exposing another tray layer.
This is the patience checkpoint. Pink and blue may keep several slots busy for a while, so wait for a block to finish rather than filling the last opening with yellow. A released slot tells you the board is ready for the next blue block.
Place the final light-blue block after an occupied slot clears. By now the blue route should extend across the heart instead of stopping at the lower edge. That progress exposes the small yellow center safely.
Use the yellow blocks for the bow-tie shape once surrounding blue tiles have thinned. Yellow works quickly at this point and helps empty the last occupied slots for the final cleanup.
This level teaches that a full tray can be safe only when every block is doing useful work. Large pink and blue counts are acceptable because their colors have large target areas; yellow is risky early because its target is enclosed.
The usual mistake is adding yellow while the pink point and blue middle are still blocking it. If yellow does not immediately begin work, restart and wait for a pink block to finish before loading the final blue block. Do not use the last open slot just because it is available.
It can be, but only when pink and blue ants are already reducing every block. A full queue with a stalled color is a reset warning.
The yellow bow tie sits inside the heart. It needs the surrounding blue route to be open before yellow ants can reach it.
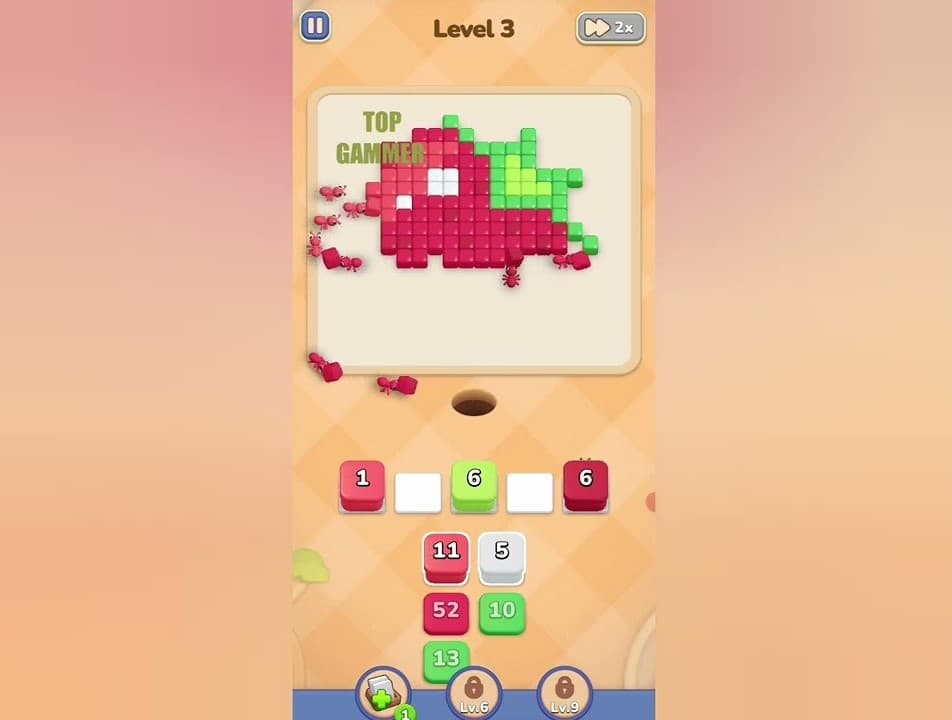
For an outer-shell puzzle with more colors, continue to the Colony Flow Level 3 berry walkthrough.

